Introduction
In this article, we will learn how to create Dropdown in Xamarin.Forms. By default, Android Platform has dropdown called as “Spinner”, but iOS Platform has no dropdown like Android Spinner. In Xamarin.Forms, we have control called as Picker and we all heard about this. We are going to create a custom to achieve, the control like Android Spinner in Xamarin.Forms.
Dropdown in Xamarin.Forms
As per the introduction, we already having a dropdown control called as “Spinner” in Android Platform. Basically Xamarin.Forms control is a wrapper platform specific controls. For Example, Xamarin.Forms Entry is wrapper of EditText in Android and UITextField in iOS.
We will go for View Renderer approach to have a new control to wrap a Platform specific control. Click the below link, to know more about view renderer.
Reference
https://docs.microsoft.com/en-us/xamarin/xamarin-forms/app-fundamentals/custom-renderer/view
Without much introduction, we will skip into the coding part of this article.
Coding Part:
Steps:
I have split this part into 3 steps as in the following.
- Creating new Xamarin.Forms Projects.
- Creating a Dropdown view in Xamarin.Forms .NetStandard Project.
- Wrapping Spinner for Dropdown control in Android Project.
- Implementation of Dropdown & It’s Demo for Android Platform.
Step 1: Creating new Xamarin.Forms Projects
Create New Project by Selecting New -> Project -> Select Xamarin Cross Platform App and Click OK.
Then Select Android and iOS Platforms as shown below with Code Sharing Strategy as PCL or .Net Standard and Click OK.
Step 2: Creating a Dropdown view in Xamarin.Forms .NetStandard Project
In this step, we will see how to create a dropdown view with required properties.
- Create a class named as “Dropdown” and inherit the Dropdown with “View”. That is Dropdown is child of View.
public class Dropdown : View
{
 //...
}
- Then we will create a required bindable properties. First we will see, what are all the properties & events required for dropdown.
- ItemsSource – To assign the list of data to be populated in the dropdown.
- SelectedIndex – To identify the index of selected values from the ItemsSource.
- ItemSelected – Event for performing action when the item selected in the dropdown.
- Create a bindable property for the ItemsSource as shown in below.
public static readonly BindableProperty ItemsSourceProperty = BindableProperty.Create(
 propertyName: nameof(ItemsSource),
 returnType: typeof(List<string>),
 declaringType: typeof(List<string>),
 defaultValue: null);

public List<string> ItemsSource
{
 get { return (List<string>)GetValue(ItemsSourceProperty); }
 set { SetValue(ItemsSourceProperty, value); }
}
- Create a bindable property for the SelectedIndex as shown in below.
public static readonly BindableProperty SelectedIndexProperty = BindableProperty.Create(
 propertyName: nameof(SelectedIndex),
 returnType: typeof(int),
 declaringType: typeof(int),
 defaultValue: -1);

public int SelectedIndex
{
 get { return (int)GetValue(SelectedIndexProperty); }
 set { SetValue(SelectedIndexProperty, value); }
}
- Create a custom event ItemSelected for dropdown control and invoke the event as shown in below.
public event EventHandler ItemSelected;

public void OnItemSelected(int pos)
{
 ItemSelected?.Invoke(this, new ItemSelectedEventArgs() { SelectedIndex = pos });
}
- Here, ItemSelectedEventArgs is a child of EventArgs as shown in below.
public class ItemSelectedEventArgs : EventArgs
{
 public int SelectedIndex { get; set; }
}
Full Code of Dropdown View
Here, we will see the full code for dropdown view.
namespace XF.Ctrls
{
    public class Dropdown : View
    {
        public static readonly BindableProperty ItemsSourceProperty = BindableProperty.Create(
            propertyName: nameof(ItemsSource),
            returnType: typeof(List<string>),
            declaringType: typeof(List<string>),
            defaultValue: null);

        public List<string> ItemsSource
        {
            get { return (List<string>)GetValue(ItemsSourceProperty); }
            set { SetValue(ItemsSourceProperty, value); }
        }

        public static readonly BindableProperty SelectedIndexProperty = BindableProperty.Create(
            propertyName: nameof(SelectedIndex),
            returnType: typeof(int),
            declaringType: typeof(int),
            defaultValue: -1);

        public int SelectedIndex
        {
            get { return (int)GetValue(SelectedIndexProperty); }
            set { SetValue(SelectedIndexProperty, value); }
        }

        public event EventHandler<ItemSelectedEventArgs> ItemSelected;

        public void OnItemSelected(int pos)
        {
            ItemSelected?.Invoke(this, new ItemSelectedEventArgs() { SelectedIndex = pos });
        }
    }

    public class ItemSelectedEventArgs : EventArgs
    {
        public int SelectedIndex { get; set; }
    }
}
Step 3: Wrapping Spinner for Dropdown control in Android Project.
In this step, we will see “How to wrap the Android Spinner Control for Dropdown View”.
-
Create a class file named as “DropdownRenderer” in your android client project and add View Renderer as shown in below.
public class DropdownRenderer : ViewRenderer<Dropdown, Spinner>
{
 Spinner spinner;
 public DropdownRenderer(Context context) : base(context)
 {

 }
 // ...
}
- Then Override the methods “OnElementChanged” and “OnElementPropertyChanged”. OnElementChanged method is triggered on element/control initiation. OnElementPropertyChanged method is called when the element property changes.
- Set Native Control to ViewRenderer using SetNativeControl() method in OnElementChanged override method as shown in below.
protected override void OnElementChanged(ElementChangedEventArgs<Dropdown> e)
{
 base.OnElementChanged(e);

 if (Control == null)
 {
  spinner = new Spinner(Context);
  SetNativeControl(spinner);
 }
 //...
}
- Set Items Source from Xamarin.Forms Dropdown to Android Spinner control using array adapter as shown in below.
var view = e.NewElement;

ArrayAdapter adapter = new ArrayAdapter(Context, Android.Resource.Layout.SimpleListItem1, view.ItemsSource);
Control.Adapter = adapter;
- Set default selection of item from selected index as shown in below.
if (view.SelectedIndex != -1)
{
 Control.SetSelection(view.SelectedIndex);
}
- Create an item selected event for spinner and invoke the dropdown event created as shown below
// ...
Control.ItemSelected += OnItemSelected;
// ...
private void OnItemSelected(object sender, AdapterView.ItemSelectedEventArgs e)
{
 var view = Element;
 if (view != null)
 {
  view.SelectedIndex = e.Position;
  view.OnItemSelected(e.Position);
 }
}
- In the same way, we will assign ItemsSource & SelectedIndex to Android Spinner when the property changes using OnElementPropertyChanged as shown below.
protected override void OnElementPropertyChanged(object sender, PropertyChangedEventArgs e)
{
 var view = Element;
 if (e.PropertyName == Dropdown.ItemsSourceProperty.PropertyName)
 {
  ArrayAdapter adapter = new ArrayAdapter(Context, Android.Resource.Layout.SimpleListItem1, view.ItemsSource);
  Control.Adapter = adapter;
 }
 if (e.PropertyName == Dropdown.SelectedIndexProperty.PropertyName)
 {
  Control.SetSelection(view.SelectedIndex);
 }
 base.OnElementPropertyChanged(sender, e);
}
- Add Export Renderer above the namespace to link dropdown view in .NetStandard project to Android Client Project. This is very important step for any custom renderer approach.
[assembly: ExportRenderer(typeof(Dropdown), typeof(DropdownRenderer))]
namespace XF.Ctrls.Droid
Full Code of Dropdown Renderer
Here, we will see the full code for Dropdown Renderer.
[assembly: ExportRenderer(typeof(Dropdown), typeof(DropdownRenderer))]
namespace XF.Ctrls.Droid
{
    public class DropdownRenderer : ViewRenderer<Dropdown, Spinner>
    {
        Spinner spinner;
        public DropdownRenderer(Context context) : base(context)
        {

        }

        protected override void OnElementChanged(ElementChangedEventArgs<Dropdown> e)
        {
            base.OnElementChanged(e);

            if (Control == null)
            {
                spinner = new Spinner(Context);
                SetNativeControl(spinner);
            }

            if (e.OldElement != null)
            {
                Control.ItemSelected -= OnItemSelected;
            }
            if (e.NewElement != null)
            {
                var view = e.NewElement;

                ArrayAdapter adapter = new ArrayAdapter(Context, Android.Resource.Layout.SimpleListItem1, view.ItemsSource);
                Control.Adapter = adapter;

                if (view.SelectedIndex != -1)
                {
                    Control.SetSelection(view.SelectedIndex);
                }

                Control.ItemSelected += OnItemSelected;
            }
        }

        protected override void OnElementPropertyChanged(object sender, PropertyChangedEventArgs e)
        {
            var view = Element;
            if (e.PropertyName == Dropdown.ItemsSourceProperty.PropertyName)
            {
                ArrayAdapter adapter = new ArrayAdapter(Context, Android.Resource.Layout.SimpleListItem1, view.ItemsSource);
                Control.Adapter = adapter;
            }
            if (e.PropertyName == Dropdown.SelectedIndexProperty.PropertyName)
            {
                Control.SetSelection(view.SelectedIndex);
            }
            base.OnElementPropertyChanged(sender, e);
        }

        private void OnItemSelected(object sender, AdapterView.ItemSelectedEventArgs e)
        {
            var view = Element;
            if (view != null)
            {
                view.SelectedIndex = e.Position;
                view.OnItemSelected(e.Position);
            }
        }
    }
}
Step 4: Implementation of Dropdown & It’s Demo for Android Platform
In this step, we will see how to use the view in Xamarin.Forms.
-
Open your designer file and in my case MainPage.xaml and add the control as shown below.
<local:Dropdown HorizontalOptions="FillAndExpand"
      VerticalOptions="Center"
      BackgroundColor="LawnGreen"
      x:Name="dropdown"/>
- Set ItemsSource and SelectedIndex as shown in below.
dropdown.ItemsSource = Items1;
dropdown.SelectedIndex = 1;
- Add item selection event to dropdown as shown in below.
public MainPage()
{
 //...
 dropdown.ItemSelected += OnDropdownSelected;
}

private void OnDropdownSelected(object sender, ItemSelectedEventArgs e)
{
 label.Text = Items1[e.SelectedIndex];
}
Full Code implementation of Dropdown in MainPage
Here, we will see the full code for Main Page.
namespace XF.Ctrls
{
    public partial class MainPage : ContentPage
    {
        List<string> Items1 = new List<string>();
        List<string> Items2 = new List<string>();
        bool IsItem1 = true;

        public MainPage()
        {
            InitializeComponent();

            for (int i = 0; i < 4; i++)
            {
                Items1.Add(i.ToString());
            }

            for (int i = 0; i < 10; i++)
            {
                Items2.Add(i.ToString());
            }

            dropdown.ItemsSource = Items1;
            dropdown.SelectedIndex = 1;
            dropdown.ItemSelected += OnDropdownSelected;
        }

        private void OnDropdownSelected(object sender, ItemSelectedEventArgs e)
        {
            label.Text = IsItem1 ? Items1[e.SelectedIndex] : Items2[e.SelectedIndex];
        }

        private void btn_Clicked(object sender, EventArgs e)
        {
            dropdown.ItemsSource = IsItem1 ? Items2 : Items1;
            dropdown.SelectedIndex = IsItem1 ? 5 : 1;
            IsItem1 = !IsItem1;
        }
    }
}
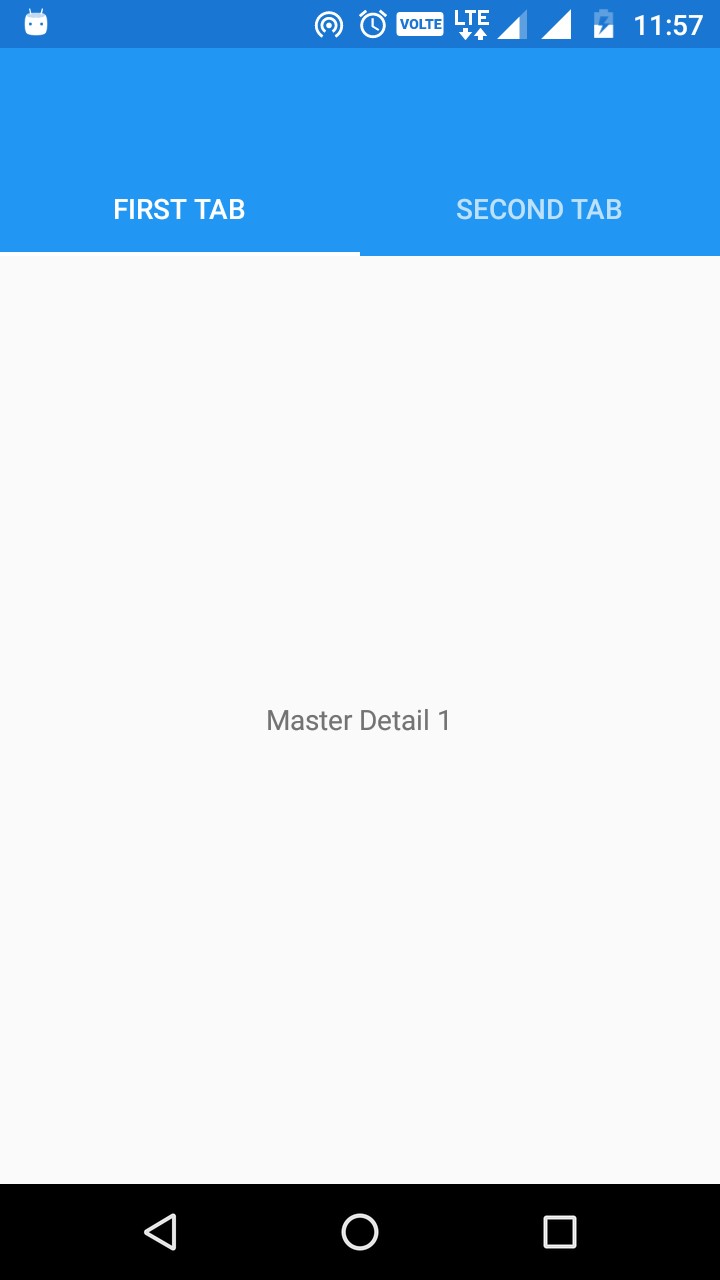
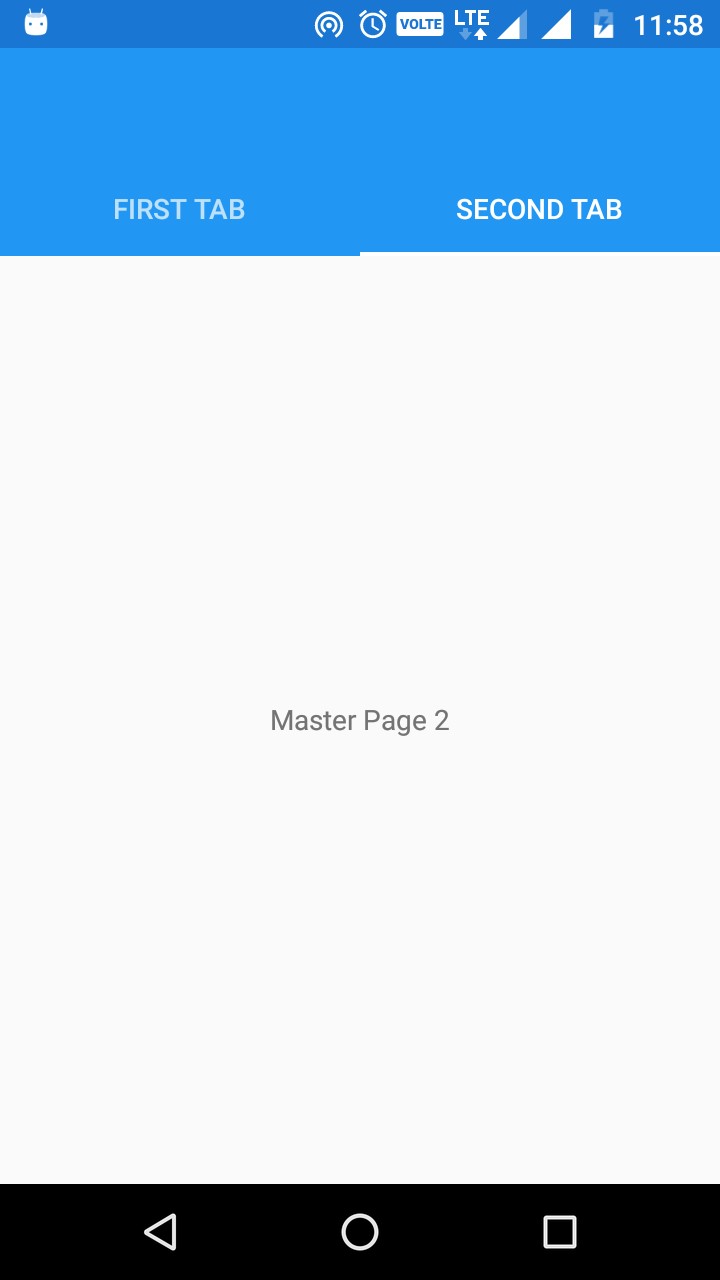
Demo
The following screens shows the output this tutorial and it is awesome to have this dropdown in Xamarin.Forms.
This article covers the implementation of new dropdown control in Android Platform alone. Currently, I am working on creating spinner like dropdown control in iOS Platform and will post the article about the implementation of the dropdown in iOS Platform soon.
My plan is to create a dropdown control for supporting all platforms and offering this control as a standard plugin.
Download Code
You can download the code from
GitHub. If you have doubt, feel free to post comment.
If you like this article and is useful to you, do like, share the article & star the repository on
GitHub.


 iOS Setup


Follow Us
Were this world an endless plain, and by sailing eastward we could for ever reach new distances