Showing posts with label Fresh MVVM. Show all posts

Introduction: In this tutorial, we will learn how to use Rg.Plugin.Popup in Xamarin.Forms using Fresh MMVM. In my previous articles, we h...

Rg Popup in Xamarin.Forms using Fresh MVVM Rg Popup in Xamarin.Forms using Fresh MVVM

A blog about android developement

Fresh MVVM

Introduction:

In this tutorial, we will learn how to use Rg.Plugin.Popup in Xamarin.Forms using Fresh MMVM. In my previous articles, we have learned how to use Fresh MVVM with Navigation Page, Master Detail Page and Tabbed Page. If you are new to Fresh MVVM, kindly read my previous articles on Fresh MVVM to know the basics & rules of Fresh MVVM.

Coding Part:

Steps:

I have split this part into 3 steps as in the following.

  1. Creating new Xamarin.Forms Projects.
  2. Setting up the plugin for Xamarin.Forms Application.
  3. Implementing Fresh MVVM.

Step 1: Creating new Xamarin.Forms Projects

Create New Project by Selecting New -> Project -> Select Xamarin Cross Platform App and Click OK.
Then Select Android and iOS Platforms as shown below with Code Sharing Strategy as PCL or .Net Standard and Click OK.

Step 2: Setting up the plugin for Xamarin.Forms Application

We will start coding for Fresh MVVM. Create New Xamarin Forms Project. Open Nuget Package Manager against the solution and do search for Fresh MVVM Plugin or Paste the following Nuget Installation.
Install-Package FreshMvvm -Version 2.2.3

Click Install to install this Plugin against your PCL Project or .NET standard Project. Then download the Rg.Plugin.Popup by using the following Nuget package.

Install-Package Rg.Plugins.Popup -Version 1.1.5.188

Click Install to install this Plugin against your PCL Project or .NET standard Project and all dependent platform projects.

Step 3: Implementing Fresh MVVM Page & Page Models

  1. Create your XAML page (view) with name ended up with “Page”.
  2. Create PageModel by create Class name ended with “PageModel” and inherited with “FreshBasePageModel” as shown below screenshot.
  3. I have created a Page & PageModel named as “MainPage” & “MainPageModel” and set this page as Main Page/Root Page of the application as shown in the following.

    Set MainPage:

    We need to set the MainPageModel as MainPage using FreshNavigationConatiner. Open App.xaml.cs or App.cs and set MainPage.

    // To set MainPage for the Application
    var page = FreshPageModelResolver.ResolvePageModel();
    var basicNavContainer = new FreshNavigationContainer(page);
    MainPage = basicNavContainer;

  4. 4. Then create a Popup Page using Rg.Plugins.Popup by adding “”. The following code snippet shows how to create popup using Rg.Plugin. I have created a Xamarin.Forms Page and named as “MyPopupPage.xaml”.
    <?xml version="1.0" encoding="utf-8" ?>
    <popup:PopupPage xmlns="http://xamarin.com/schemas/2014/forms"
                     xmlns:x="http://schemas.microsoft.com/winfx/2009/xaml"
                     xmlns:popup="clr-namespace:Rg.Plugins.Popup.Pages;assembly=Rg.Plugins.Popup"
                     CloseWhenBackgroundIsClicked="True"
                     x:Class="Popup.MyPopupPage">
        <popup:PopupPage.Content>
            <StackLayout Padding="10"
                         BackgroundColor="White"
                         HorizontalOptions="Center"
                         VerticalOptions="Center">
                <Label Text="Fresh MVVM Rg.Plugin.Popup"
                    VerticalOptions="CenterAndExpand" 
                    HorizontalOptions="CenterAndExpand" />
                <Button Command="{Binding ClosePopupCommand}"
                        Text="Close Popup"/>
            </StackLayout>
        </popup:PopupPage.Content>
    </popup:PopupPage>
  5. The code behind has “PopupPage” as parent page like shown in the following code part.
    public partial class MyPopupPage : PopupPage
    {
     public MyPopupPage ()
     {
      InitializeComponent ();
     }
    }
  6. Then create a Page Model for the created Popup Page with Fresh MVVM rules. If you have not remember the rules or new to Fresh MVVM, Kindly refer my previous articles on fresh MVVM.
    public class MyPopupPageModel : FreshBasePageModel
    {
    
    }
  7. Rg Popup Page has a separate Navigation Stack. So, open and close the popup, we need to have separate Navigation Stack. To know more about Rg.Plugin.Popup, refer the GitHub Link.
    Rg.Plugin.Popup Link: https://github.com/rotorgames/Rg.Plugins.Popup
  8. Then include Fresh MVVM extension/Utility class to your Xamarin Shared Project. This extension file is created & open sourced by the author “Libin Joseph”. You can download this file from the following GitHub Link.
    Fresh MVVM Extension Link: https://github.com/libin85/FreshMvvm.Popup
  9. To open popup page like navigating to normal Fresh MVVM page, use the following code snippet.
    return new Command(async () =>
    {
            await CoreMethods.PushPopupPageModel();
    });
  10. To close the popup page like closing normal Fresh MVVM page, use the following code snippet.
    return new Command(async () =>
    {
            await CoreMethods.PopPopupPageModel();
    });
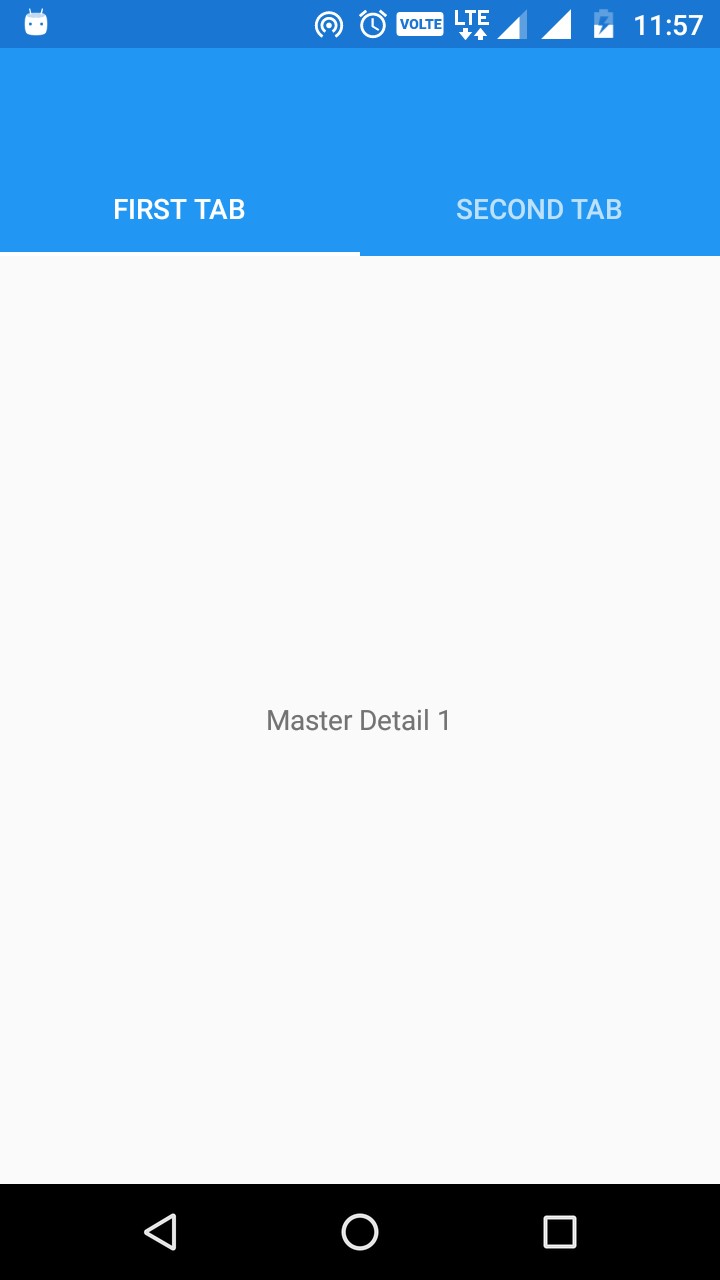
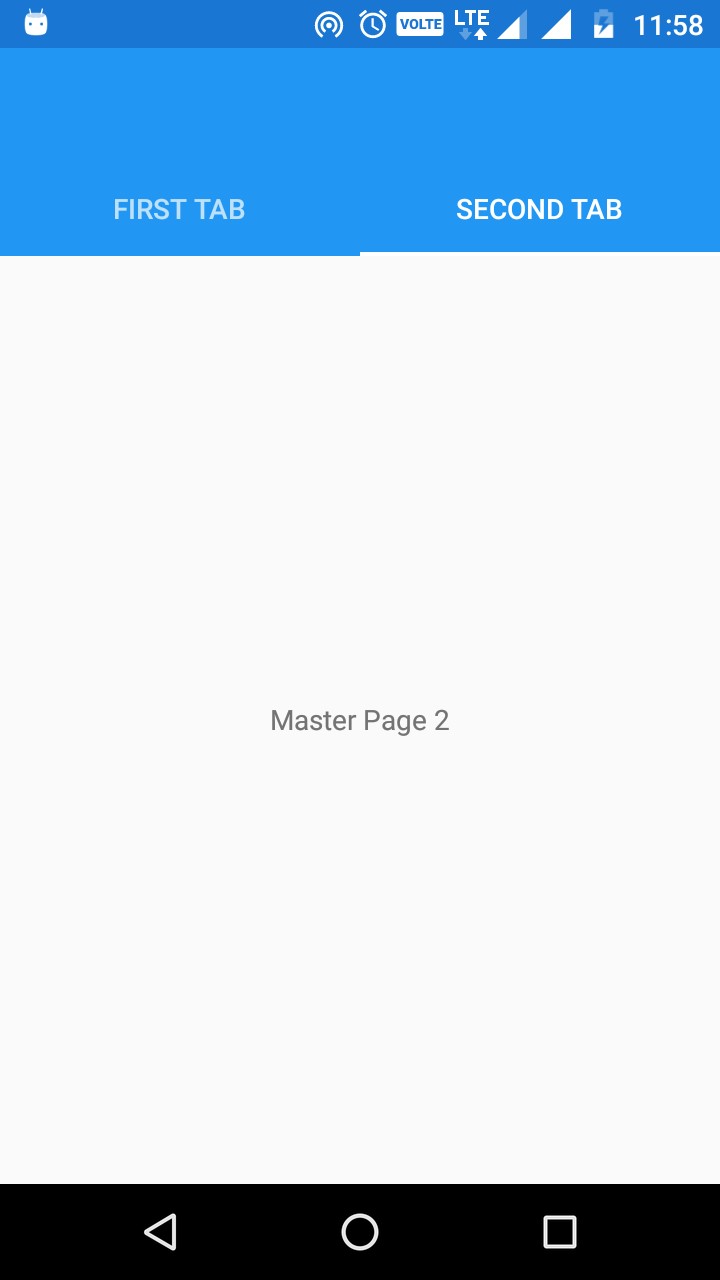
Demo:

The below screenshots for your reference.

Main PageRg Popup Page

Reference:

Fresh MVVMhttps://github.com/rid00z/FreshMvvm
Rg.Plugin.Popuphttps://github.com/rotorgames/Rg.Plugins.Popup
Fresh MVVM Popup Extensionhttps://github.com/libin85/FreshMvvm.Popup/

Download Code

You can download the code from GitHub. If you have doubt, feel free to post comment. If you like this article and is useful to you, do like, share the article & star the repository on GitHub.

Introduction: In this tutorial, we will learn how create Tabbed Page in Xamarin.Forms using Fresh MVVM. We already learned how to create ...

Tabbed Page in Xamarin.Forms using Fresh MVVM Tabbed Page in Xamarin.Forms using Fresh MVVM

A blog about android developement

Fresh MVVM


Introduction:

In this tutorial, we will learn how create Tabbed Page in Xamarin.Forms using Fresh MVVM. We already learned how to create your master details page in my previous tutorials. If you are new to Fresh MVVM, You can read my previous article here.

Articles of FreshMVVM:

  1. MVVM Databinding in Xamarin.Forms using Fresh MVVM.
  2. Master Detail Page in Xamarin.Forms using Fresh MVVM.

Coding Part:

Steps:
I have split this part into 3 steps as in the following.
  1. Creating new Xamarin.Forms Projects.
  2. Setting up the plugin for Xamarin.Forms Application.
  3. Implementing Fresh MVVM Tabbed Page.

Step 1: Creating new Xamarin.Forms Projects

Create New Project by Selecting New -> Project -> Select Xamarin Cross Platform App and Click OK.
Then Select Android and iOS Platforms as shown below with Code Sharing Strategy as PCL or .Net Standard and Click OK.

Step 2: Setting up the plugin for Xamarin.Forms Application

We will start coding for Fresh MVVM. Create New Xamarin Forms Project. Open Nuget Package Manager against the solution and do search for Fresh MVVM Plugin or Paste the following Nuget Installation.
Install-Package FreshMvvm -Version 2.2.3
Click Install to install this Plugin against your PCL Project or .NET standard Project.

Step 3: Implementing Fresh MVVM Tabbed Page

  1. Create your XAML page (view) with name ended up with “Page”.
  2. Create PageModel by create Class name ended with “PageModel” and inherited with “FreshBasePageModel” as shown below screenshot.
  3. In the same way, I have created two pages “Detail1Page” and “Detail2Page” with two respective page models “Detail1PageModel” and “Detail2PageModel”.
Set MainPage:
To create Fresh MVVM Tabbed Page as MainPage, we should use Fresh Tabbed Navigation Container with the following code. Open App.xaml.cs or App.cs and set MainPage.
var tabbedNavigation = new FreshTabbedNavigationContainer();
tabbedNavigation.AddTab("First Tab", null);
tabbedNavigation.AddTab("Second Tab", null);
MainPage = tabbedNavigation;
  • Then Click Run, your Tabbed Page will be look like as on the below screenshot.
  • Here, we will not discuss about navigation between pages. If you want to know, you can see my previous article on Fresh MVVM.
Full Code for App.xaml.cs:
You can find the code for App.xaml.cs below
public partial class App : Application
{
    public App()
    {
        try
        {
            InitializeComponent();
            var tabbedNavigation = new FreshTabbedNavigationContainer();
           tabbedNavigation.AddTab("First Tab", null);
           tabbedNavigation.AddTab("Second Tab", null);
           MainPage = tabbedNavigation;
        }
        catch (Exception ex)
        {

        }
    }

    protected override void OnStart()
    {
        // Handle when your app starts
    }

    protected override void OnSleep()
    {
        // Handle when your app sleeps
    }

    protected override void OnResume()
    {
        // Handle when your app resumes
    }
}

Download Code

You can download the code from GitHub. If you have doubt, feel free to post comment. If you like this article and is useful to you, do like, share the article & star the repository on GitHub.

Introduction: In this tutorial, we will learn how to perform MVVM approach in Xamarin.Forms using Fresh MVVM. MVVM approach is the b...

Master Detail Page in Xamarin.Forms using Fresh MVVM Master Detail Page in Xamarin.Forms using Fresh MVVM

A blog about android developement

Fresh MVVM


Introduction:

In this tutorial, we will learn how to perform MVVM approach in Xamarin.Forms using Fresh MVVM. MVVM approach is the best approach for Xamarin.Forms and WPF Applications. There are a lot of MVVM plugins or libraries like FreshMVVM, MVVMCross, Prism, etc. available to simplify MVVM implementations.

FreshMVVM:

FreshMVVM is designed to perform MVVM easy and simple with Xamarin.Forms Application. It is created Michael Ridland. It has certain rules to perform MVVM Databinding. You can find the plugin from GitHub and Nuget.

Kindly refer my previous article on Fresh MVVM to know the basics & rules of Fresh MVVM.

Coding Part:

Steps:
I have split this part into 3 steps as in the following.
  1. Creating new Xamarin.Forms Projects.
  2. Setting up the plugin for Xamarin.Forms Application.
  3. Implementing Fresh MVVM.

Step 1: Creating new Xamarin.Forms Projects

Create New Project by Selecting New -> Project -> Select Xamarin Cross Platform App and Click OK.
Then Select Android and iOS Platforms as shown below with Code Sharing Strategy as PCL or .Net Standard and Click OK.

Step 2: Setting up the plugin for Xamarin.Forms Application

We will start coding for Fresh MVVM. Create New Xamarin Forms Project. Open Nuget Package Manager against the solution and do search for Fresh MVVM Plugin or Paste the following Nuget Installation.
Install-Package FreshMvvm -Version 2.2.3
Click Install to install this Plugin against your PCL Project or .NET standard Project.

Step 3: Implementing Fresh MVVM.

  1. Create your XAML page (view) with name ended up with “Page”.
  2. Create PageModel by create Class name ended with “PageModel” and inherited with “FreshBasePageModel” as shown below screenshot.
  3. In the same way, I have created two pages “Detail1Page” and “Detail2Page” with two respective page models “Detail1PageModel” and “Detail2PageModel”.
Set MainPage:
To create Fresh MVVM Master Detail Page as MainPage, we should use Fresh Master Detail Navigation Container with the following code. Open App.xaml.cs or App.cs and set MainPage.
var masterNavigation = new FreshMasterDetailNavigationContainer();
masterNavigation.Init("Menu");
masterNavigation.AddPage("First Page", null);
masterNavigation.AddPage("Second Page", null);
MainPage = masterNavigation;
  • Here, we will not discuss about navigation between pages. If you want to know, you can see my previous article on Fresh MVVM.
Full Code for App.xaml.cs:
You can find the code for App.xaml.cs below
public partial class App : Application
{
    public App()
    {
        try
        {
            InitializeComponent();
            var masterNavigation = new FreshMasterDetailNavigationContainer();
            masterNavigation.Init("Menu");
            masterNavigation.AddPage("First Page", null);
            masterNavigation.AddPage("Second Page", null);
            MainPage = masterNavigation;
        }
        catch (Exception ex)
        {

        }
    }

    protected override void OnStart()
    {
        // Handle when your app starts
    }

    protected override void OnSleep()
    {
        // Handle when your app sleeps
    }

    protected override void OnResume()
    {
        // Handle when your app resumes
    }
}

Download Code

You can download the code from GitHub. If you have doubt, feel free to post comment. If you like this article and is useful to you, do like, share the article & star the repository on GitHub.

Introduction: In this tutorial, we will learn how to perform MVVM approach in Xamarin.Forms using Fresh MVVM. MVVM approach is the best...

MVVM Databinding in Xamarin.Forms using Fresh MVVM MVVM Databinding in Xamarin.Forms using Fresh MVVM

A blog about android developement

Fresh MVVM


Introduction:

In this tutorial, we will learn how to perform MVVM approach in Xamarin.Forms using Fresh MVVM. MVVM approach is the best approach for Xamarin.Forms and WPF Applications. There are a lot of MVVM plugins or libraries like FreshMVVM, MVVMCross, Prism, etc. available to simplify MVVM implementations.

FreshMVVM:

FreshMVVM is designed to perform MVVM easy and simple with Xamarin.Forms Application. It is created Michael Ridland. It has certain rules to perform MVVM Databinding. You can find the plugin from GitHub and Nuget.

Rules for FreshMVVM:
It has simple rules to do MVVM. It is the first and important rule. – The Views (Pages) name should be ended with Page. – The ViewModel name should be ended with PageModel. – The namespace of both Page and Pagemodel should be name. – You don’t need to set BindingContext manually. The plugin will detect the View and ViewModel with its name. We will start coding with Fresh MVVM.

Coding Part:

Steps:
I have split this part into 3 steps as in the following.
  1. Creating new Xamarin.Forms Projects.
  2. Setting up the plugin for Xamarin.Forms Application.
  3. Implementing Fresh MVVM.

Step 1: Creating new Xamarin.Forms Projects

Create New Project by Selecting New -> Project -> Select Xamarin Cross Platform App and Click OK.
Then Select Android and iOS Platforms as shown below with Code Sharing Strategy as PCL or .Net Standard and Click OK.

Step 2: Setting up the plugin for Xamarin.Forms Application

We will start coding for Fresh MVVM. Create New Xamarin Forms Project. Open Nuget Package Manager against the solution and do search for Fresh MVVM Plugin or Paste the following Nuget Installation.
Install-Package FreshMvvm -Version 2.2.3
Click Install to install this Plugin against your PCL Project or .NET standard Project.

Step 3: Implementing Fresh MVVM.

  1. Create your XAML page (view) with name ended up with “Page”.
  2. Create PageModel by create Class name ended with “PageModel” and inherited with “FreshBasePageModel” as shown below screenshot.
  3. The namespace of Page and PageModel should be same as shown in the above screenshots. – The Binding Properties and Command Properties are implemented same as like normal MVVM approach. – To indicate the binding properties changed by using RaisePropertyChanged instead of OnPropertyChanged event in Normal MVVM. – The following code is used to raise the property changed.
    RaisePropertyChanged("MainPageLabel");
  4. Set MainPage:
    To initialize the FreshMVVM Navigation you should set the MainPage with FreshMVVM Navigation Container with the following code. Open App.xaml.cs or App.cs and set MainPage. 
    var page = FreshPageModelResolver.ResolvePageModel<MainPageModel>();
    var basicNavContainer = new FreshNavigationContainer(page);
    MainPage = basicNavContainer;
    Navigation between Pages:
    FreshMVVM itself has Navigation methods to make navigation between the pages.
    1. Use PushPageModel for pushing the page in the navigation stack or goto next page instead of PushAsync in normal MVVM.
      await CoreMethods.PushPageModel();
      It is equivalent to the following
      Navigation.PushAsync(new SecondPage());
    2. Use PopPageModel for popping the page from navigation stack instead of PopAsync in normal MVVM.
      await CoreMethods.PopPageModel();
      It is equivalent to the following
      Navigation.PopAsync();
    3. Use PopToRoot to navigate from any page to root page instead of PopToAsync in normal MVVM.
      await CoreMethods.PopToRoot(animate:false);
      It is equivalent to the following
      Navigation.PopToRootAsync();

Full Code for MainPageModel:

You can find the code for MainPageModel below
namespace FreshMVVMSample
{
    public class MainPageModel : FreshBasePageModel
    {

        #region Default Override functions
        public override void Init(object initData)
        {
            base.Init(initData);
            MainPageLabel = "Welcome to Fresh Mvvm Tutorial!";
        }

        public override void ReverseInit(object returnedData)
        {
            base.ReverseInit(returnedData);
        }

        protected override void ViewIsAppearing(object sender, EventArgs e)
        {
            base.ViewIsAppearing(sender, e);
        }

        protected override void ViewIsDisappearing(object sender, EventArgs e)
        {
            base.ViewIsDisappearing(sender, e);
        }
        #endregion

        #region Commands
        public Command GotoSecondPageCommand
        {
            get
            {
                return new Command(async () =>
                {
                    await CoreMethods.PushPageModel<SecondPageModel>();
                });
            }
        }
        #endregion

        #region Properties
        string _mainPageLabel = string.Empty;
        public string MainPageLabel
        {
            get
            {
                return _mainPageLabel;
            }
            set
            {
                if (_mainPageLabel != value)
                {
                    _mainPageLabel = value;
                    RaisePropertyChanged(nameof(MainPageLabel));
                }
            }
        }
        #endregion

    }
}

Download Code

You can download the code from GitHub. If you have doubt, feel free to post comment. If you like this article and is useful to you, do like, share the article & star the repository on GitHub.