

Introduction:
In this tutorial, we will learn how to implement Gradient view in Xamarin.Forms with very simple steps. To achieve the gradient view, we are using Magic Gradients plugin for Xamarin Forms. Magic Gradients is a NuGet that provide a possibility to add beautiful and enhanced gradients into Xamarin.Forms applications. It supports all common Xamarin platforms, such as Android, iOS and UWP. It is built upon SkiaSharp to draw a simple multi-color or multi-layer engaged gradients. Without further delay, we will skip into the coding part of the article.
Magic Gradient:
Magic Gradients provides GradientView control which is just a surface for SkiaSharp inside. Inside GradientView you need to set GradientSource which is a default container. Inside it you can place single gradients LinearGradient, RadialGradient or multiple gradients with GradientCollection as a top element.
Coding Part:
Steps:
I have split the coding part into 3 steps as in the following.
- Creating new Xamarin.Forms Projects.
- Setting up the libraries.
- Implementation of the Gradient Views
Step 1: Creating new Xamarin.Forms Projects
-
Create New Project by Selecting New -> Project -> Select Xamarin Cross Platform App and Click OK.

- Then Select Android and iOS Platforms as shown below with Code Sharing Strategy as PCL or .Net Standard and Click OK.

- Then Select Android and iOS Platforms as shown below with Code Sharing Strategy as PCL or .Net Standard and Click OK.


Step 2: Setting up the libraries
- We need to install the NuGet package for Magic Gradients by using any of the below methods.
- Search for MagicGradients in NuGet browser.
- Using Package Manager CLI: “Install-Package MagicGradients”.
- Using the .Net CLI: “dotnet add package MagicGradients”.
- Editing your csproj file by adding the following and restoring the project.
<PackageReference Include="MagiGradients" Version="1.0.0" /> - We should install it only for our "Core" project.
Step 3: Implementation of the Gradient Views
- Open your designer file and add the following namespace for magic gradient view.
xmlns:magic="clr-namespace:MagicGradients;assembly=MagicGradients" - After that we can using Magic Gradients as like in the following code snippet. Inside it you can place single gradients LinearGradient, RadialGradient or multiple gradients with GradientCollection as a top element.
- Here, we have taken LinearGradient as an example.
<magic:GradientView VerticalOptions="FillAndExpand"> <magic:GradientView.GradientSource> <magic:LinearGradient Angle="90"> <magic:GradientStop Color="Orange" Offset="0" /> <magic:GradientStop Color="#ff0000" Offset="0.6" /> </magic:LinearGradient> </magic:GradientView.GradientSource> </magic:GradientView> - We can use gradient collection for more than one gradient sources like below.
<magic:GradientView VerticalOptions="FillAndExpand">
    <magic:GradientView.GradientSource>
        <magic:GradientCollection>
            <magic:LinearGradient Angle="45">
                <magic:GradientStop Color="Orange" Offset="0" />
                <magic:GradientStop Color="#ff0000" Offset="0.6" />
            </magic:LinearGradient>
            <magic:LinearGradient Angle="90">
                <magic:GradientStop Color="#33ff0000" Offset="0.4" />
                <magic:GradientStop Color="#ff00ff00" Offset="1" />
            </magic:LinearGradient>
        </magic:GradientCollection>
    </magic:GradientView.GradientSource>
</magic:GradientView>
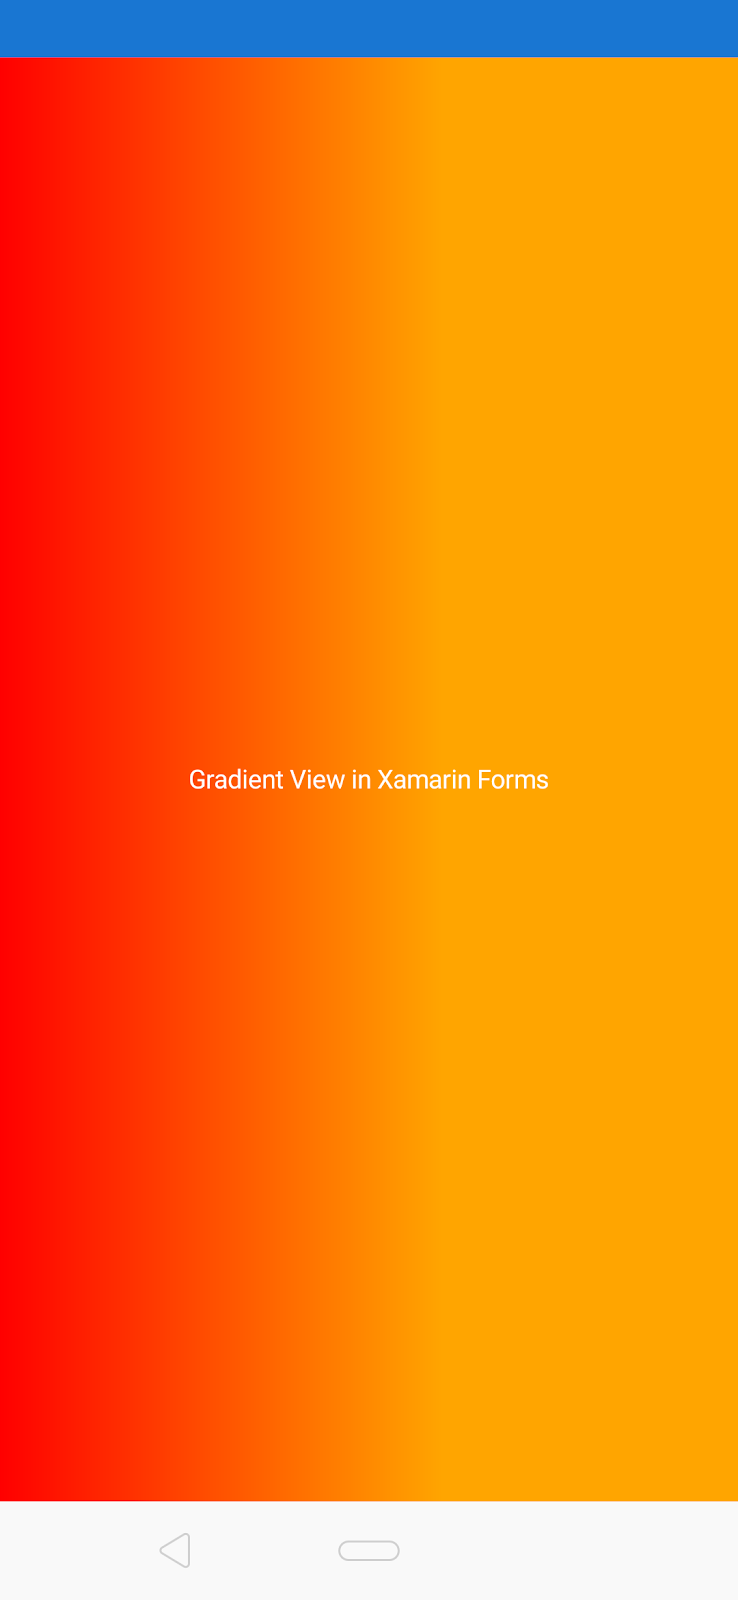
Output


The blog was amazing. I really appreciate your hard work. The way of presentation was really great by the way. Being an android app developer is not a small job. As per experts, The focus of the app industry has been user acquisition abbreviated as UA. Normal tactics and the top practices are available in today's world, which one can use to refine their strategy. As UA becomes more costly, so the conversion strategies are getting highly optimized, and there is a change of target towards stronger engagement with current users and having them over time. Recently I had come across a company called LearnInbox👌👌👌, got a chance to study them for a while and believe me!!! they are offering one of the best android app development services in India with a team of highly experienced professionals. Also, they have been stated the best of android app development in late 2020 by many online sources. A group of hard-working and talented people in one place is always a grand success. Try them for sure, Don't waste your hard-earned money at all other places!! Visit them on http://learninbox.com/
ReplyDeleteOr you can call a professional at 9951394959. #androidx #androidjetpack #androiddeveloperblog #androidappdevelopment.
Đặt vé máy bay tại Aivivu, tham khảo
ReplyDeletevé máy bay đi Mỹ bao nhiêu tiền
về việt nam từ mỹ
giá vé máy bay từ anh về việt nam
chuyến bay từ Paris về Hà Nội